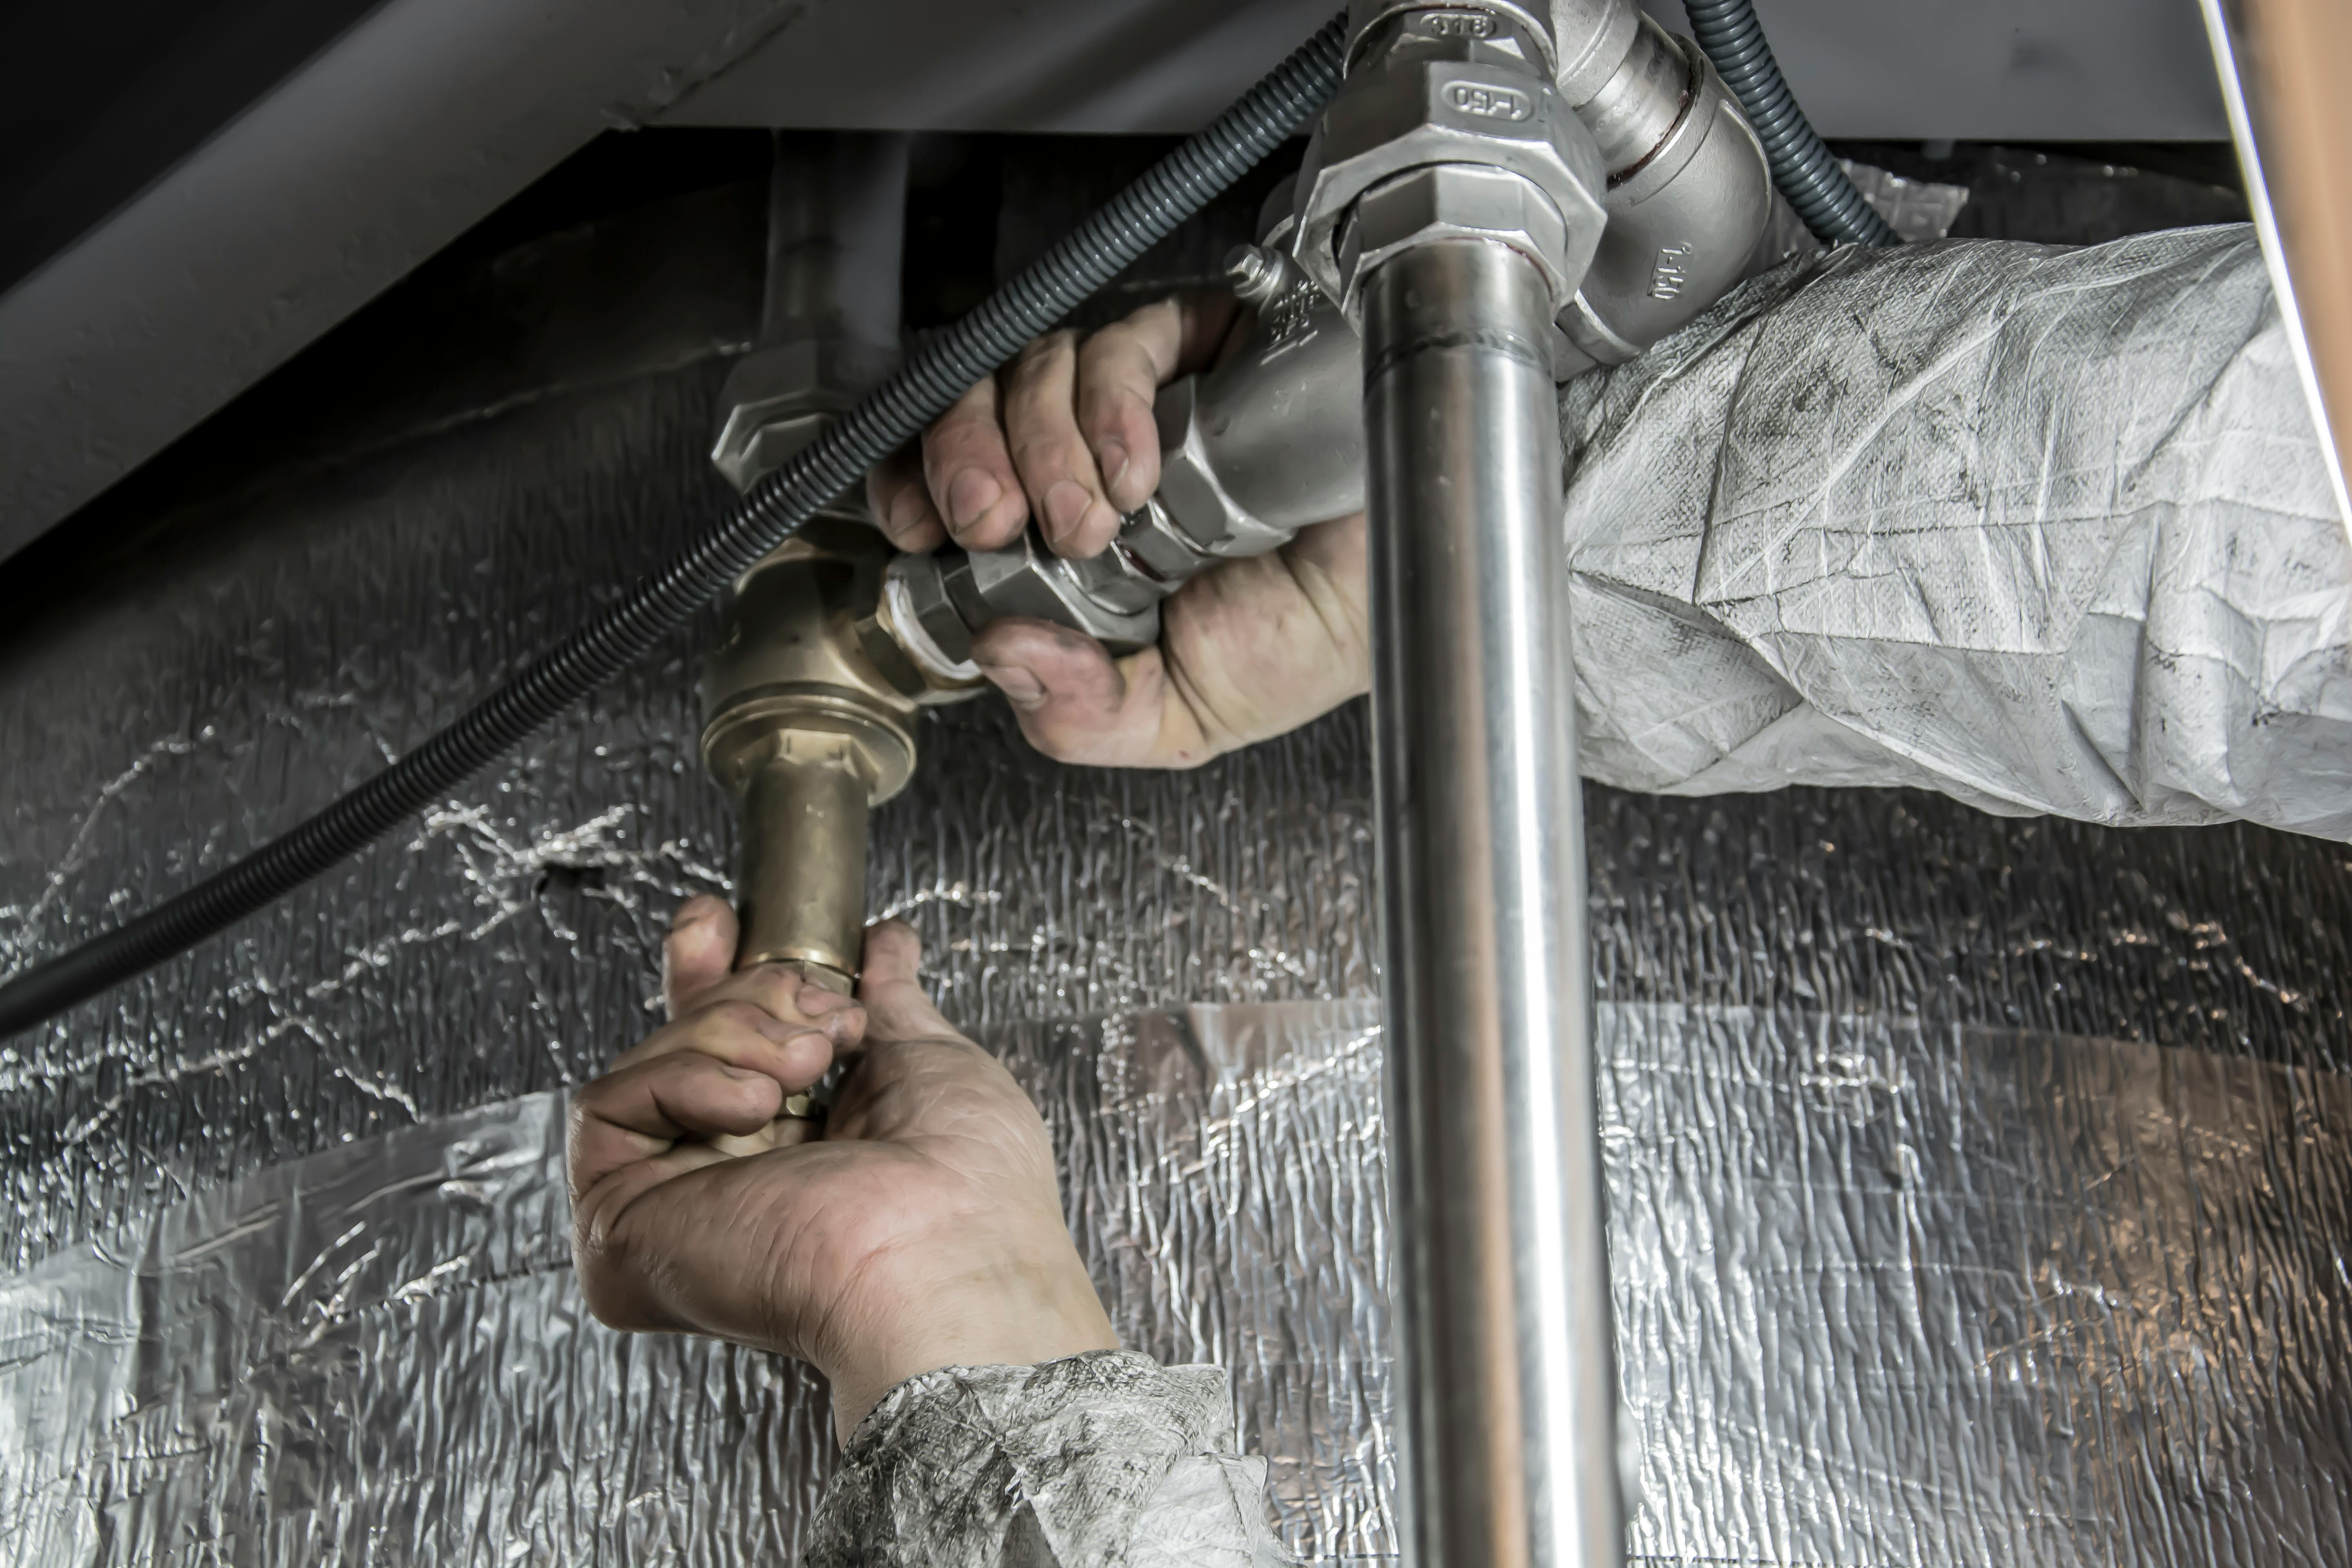
 — Leak repair under a sink / Photo: Pexels
By John Kent, DMV housing analyst with 22+ years of experience and lifelong Bethesda resident.
A dripping supply line in a single-family house is a Saturday errand. The same drip in a stacked condo building is a claim, a neighbor dispute, and sometimes a special assessment. The water does not stop at your unit boundary, and neither does the cost.
This guide covers what to do in the first ten minutes, which repairs a handyman can legitimately make, where state licensing and your condo documents draw the line, and how responsibility gets assigned once the drywall comes down. It is written for owners and buyers in Maryland and DC, but the structure of the problem is the same in any stacked building.
Why a Condo Leak Is Not a House Leak
Three structural facts make condo plumbing different, and all three work against you.
Water moves down through other people's property. A leak on the fourteenth floor becomes a damaged ceiling on twelve, a ruined hardwood floor on eleven, and a soaked electrical junction somewhere in between. You are not repairing your unit; you are repairing a vertical column of somebody else's finishes.
Your plumbing is half yours. Most condo declarations split the system at a specific point: the branch lines serving only your unit are yours, while vertical risers, main stacks, and the piping inside common walls belong to the association. That boundary is usually written in a single dense paragraph that nobody reads until the day it matters.
Access is negotiated, not assumed. Diagnosing a wall leak in a house means cutting drywall. In a condo, the same cut may need management approval, a neighbor's cooperation to enter the unit below, and a licensed, insured contractor with a certificate of insurance on file. Each approval adds hours while water keeps moving.
The First Ten Minutes
Do these in order. The sequence matters more than the speed of any one step.
- 1. Stop the water. Close the local shutoff at the fixture first — the small oval or quarter-turn valve under the sink or behind the toilet. If it will not move or there is none, go to your unit's main shutoff. If your building has no in-unit shutoff, call the on-call maintenance line to close the riser.
- 2. Cut power to wet areas. If water is near outlets, recessed lights, or a panel, switch the affected breakers off before you walk into standing water.
- 3. Notify management immediately. Call the emergency line even at 2 a.m. Management needs to check the units below and may need to isolate a riser. Delayed notice is also the single most common reason an association shifts consequential damage back onto an owner.
- 4. Photograph before you clean. Source, standing water, every wet surface, and a shot of the failed part itself. Keep the failed hose or valve in a bag — adjusters and subrogation attorneys ask for it.
- 5. Start drying within 24 hours. Extract standing water, run fans and a dehumidifier, pull soaked carpet pad. Mold begins colonizing in 24 to 48 hours, and a mold remediation invoice dwarfs the plumbing repair.
- 6. Diagnose, then repair. Only once the water is off does it make sense to figure out what actually failed and why.
Step one is the only one that requires preparation. Find your shutoff valve today, label it with tape, and exercise it a couple of times a year so the stem does not seize. A valve you have to hunt for during an active flood is functionally a valve you do not have.
Nobody has ever regretted shutting the water off too early.
Where Condo Leaks Actually Start
Catastrophic pipe bursts get the attention, but the claims data points somewhere far more boring. These are the repeat offenders, roughly in order of how often they generate a multi-unit loss.
Notice the pattern: the expensive leaks are the slow ones. A burst line announces itself in seconds and gets shut off. A shower pan seeping a pint a day for eight months rots the subfloor, feeds mold inside a shared wall cavity, and arrives as a five-figure invoice with an argument attached about how long you should have known.
The Handyman Line: What You Can and Cannot DIY
This is where most owners get it wrong in both directions — calling a plumber to swap a $9 flapper, or letting a general handyman open a wet wall that turns out to contain a common-element riser.
A workable rule: if the repair connects with a shutoff valve or a compression fitting and stays outside the wall, it is handyman or DIY work. If it requires opening a wall or ceiling, altering drain or vent piping, touching gas or venting on a water heater, or connecting to anything the association owns, it is licensed-plumber work.
Where the Work Falls
| Repair | Who Should Do It |
|---|---|
| Toilet flapper / fill valve | DIY. Fifteen minutes, under $25 in parts, no tools beyond a wrench. |
| Braided supply line swap | DIY or handyman. Shut the stop, catch the residual water, hand-tighten plus a quarter turn. |
| Faucet cartridge / P-trap | Handyman. Straightforward, but a cross-threaded trap leaks into the cabinet base for months. |
| Seized or weeping shutoff valve | Licensed plumber. The stub-out behind it is often soldered copper and the wall is right there. |
| Leak inside a wall or ceiling | Licensed plumber, plus management notice. You do not know whose pipe is behind that drywall until it is open. |
| Water heater replacement | Licensed plumber, permit, and usually HOA approval. Gas, venting, and expansion tank requirements are code-governed. |
| Recurring drain backup | Licensed plumber with a camera. Repeat clogs in one stack are a building problem, not a hair clog. |
| Shower pan / valve body | Licensed plumber plus tile work. Waterproofing failures here are the most expensive DIY mistake in a condo. |
There is a legal layer on top of the practical one. Maryland licenses plumbers at the state level through the Maryland Board of Plumbing, and the license is specific to plumbing work — a general handyman registration is not a plumbing license. Most condo declarations independently require any contractor working in a unit to be licensed and insured, with a certificate of insurance naming the association as additional insured on file before work starts. Skip that step and you can end up personally holding damage the master policy would otherwise have covered.
The practical read for owners: handle the fixture-level parts yourself, and when the diagnosis is uncertain or the wall has to open, call a licensed plumber before you start cutting. A proper diagnostic visit costs a fraction of what it costs to repair a guess, and the invoice itself becomes documentation if responsibility later gets contested.
Who Pays: Owner, Neighbor, or HOA
The question everyone asks first is who pays. The answer turns on a distinction most owners find counterintuitive: responsibility follows where the failure occurred, not where the damage appeared. Your ruined ceiling is evidence of a loss, not proof of who owes you.
Most Maryland and DC declarations sort into three cases:
- The failed component is inside a unit and serves only that unit. The owner of that unit is generally responsible, and their HO-6 liability coverage is the path to recovery for everyone downstream — assuming negligence can be shown, which varies by state and by declaration.
- The failed component is a common element — a vertical riser, a main stack, piping inside a shared wall. The association is generally responsible for the pipe, and the master policy responds to the resulting damage above the deductible.
- Split responsibility. Many declarations make the association responsible for repairing the pipe while leaving interior finishes — drywall, flooring, cabinets, paint — to the unit owner regardless of fault. This is the most common arrangement and the one that surprises owners most.
Two further wrinkles matter in practice. First, master policy deductibles in condo buildings have climbed sharply, and many associations now charge that deductible back to the unit where the loss originated — which is exactly what loss assessment coverage on your HO-6 exists to absorb. Second, prompt notice is frequently a condition in both the declaration and the policy; an owner who noticed a stain in March and reported it in August has weakened their position regardless of who owned the pipe.
Water losses also overlap with premises liability once a wet floor or a saturated ceiling injures someone. If that is your situation, our guide to who is liable when someone gets hurt in your Maryland condo walks through how Maryland's contributory negligence rule and filing deadlines apply.
How Condo Insurance Treats Water
Water is the most litigated peril in condo insurance because policies draw a sharp line between two events that look identical from your living room.
Sudden and accidental discharge is generally covered. A hose bursts, a valve fails, a tank splits. The resulting damage to your finishes and belongings falls within a standard HO-6.
Continuous or repeated seepage is generally excluded. A fitting that wept for months, a shower pan that has been failing for a year, a slow drip behind a cabinet. Insurers exclude these on the theory that they are maintenance, not accident — and the longer the timeline your own contractor documents, the worse your position becomes.
Neither type covers the repair of the failed component itself. The policy pays to fix what the water ruined, not the pipe that ruined it.
Three coverages are worth confirming on your own policy this week:
- Loss assessment. Covers your share when the association assesses owners for a shared loss or its deductible. Many owners carry $1,000 when the master deductible is $25,000 or more. Raising it is typically inexpensive.
- Water backup and sump overflow. Usually a separate endorsement. Sewer and drain backup is not covered by a base HO-6, and stack backups are common in older buildings.
- Building property / unit improvements. Determines whether your policy treats the finishes as yours or the association's, which decides who rebuilds your kitchen. Match this to what your declaration actually says rather than to the default.
Prevention That Actually Pays Off
Nearly every expensive condo water loss traces back to one of four preventable conditions. None of the fixes are expensive or difficult.
Replace Supply Hoses on a Schedule
Rubber washing machine hoses should be replaced every five years, or immediately with stainless braided lines. Do the same for ice maker and dishwasher connections. Total cost is under $100 and this single item prevents a large share of multi-unit claims.
Know and Exercise Your Shutoffs
Locate your unit's main shutoff and each fixture stop, label them, and turn each one fully closed and open twice a year. Valves that sit untouched for a decade seize exactly when you need them. If your unit genuinely has no shutoff, find out tonight who can close the riser at 3 a.m., and put that number in your phone.
Track Your Water Heater's Age
The manufacture date is encoded in the serial number on the data plate. Past year ten, a tank heater is on borrowed time. Replacing it on your schedule costs one planned invoice; replacing it after it splits costs that invoice plus remediation in three units. Confirm there is a drain pan plumbed to a drain, and if there is not, ask about adding one.
Install Leak Sensors
Battery water sensors cost $15 to $25 each and belong behind the toilet, under the kitchen and bathroom sinks, beside the water heater, and under the washer. Wi-Fi models alert your phone when you are away, which is precisely when the expensive leaks happen. Automatic shutoff valves that close the main on detection run $300 to $600 installed, and some insurers discount for them. For an owner who travels or rents the unit out, that is among the best returns available in condo maintenance.
These belong in an operating budget the same way a paint cycle or an HVAC filter does. If you are building out that budget for a unit you own or rent, our breakdown of how much paint to buy before you DIY or call a handyman uses the same estimate-first approach for interior work.
What Buyers Should Check Before Closing
Plumbing history is one of the most predictive and least examined items in condo due diligence. The resale package contains the answers; almost nobody reads for them.
- Read two years of board minutes for the word "leak." Repeated leaks in the same stack, or a pattern of owner claims, tells you what the reserve study will eventually confirm.
- Check the reserve study for plumbing line items. Riser replacement, stack lining, and domestic water line projects are seven-figure items in mid-size buildings. An underfunded reserve with an aging cast iron stack is a special assessment waiting for a date.
- Ask the age of the building's original plumbing. Cast iron from the 1960s–80s, polybutylene from roughly 1978–1995, and galvanized steel are all known-defect categories. Polybutylene in particular can affect insurability.
- Ask for the master policy deductible and whether it is charged back. This one number tells you how much loss assessment coverage you actually need.
- Read the maintenance and insurance articles of the declaration. Specifically: who repairs the pipe, and who rebuilds the finishes. Those two sentences will govern the worst day you have in the unit.
- Look up during the showing. Ceiling stains, fresh paint patches in one section of a ceiling, and warped baseboards in a bathroom are the visible residue of a history nobody volunteered.
This sits alongside the financial and structural screening in any serious condo evaluation. For the wider due diligence frame — reserves, fees, and market-level risk — our guide to hidden gem condo markets in Baltimore, Rockville, and beyond covers the variables that move value most.
In a condo, plumbing maintenance is not housekeeping. It is risk management for a building you only partly own.
The Bottom Line
Handle the fixture-level work yourself and stop paying a trip charge for a flapper. Hand off anything behind a wall, anything on a drain or vent, and anything involving a water heater to a licensed professional who will document the cause. Find your shutoff before you need it, replace your supply hoses before they fail, and put $20 sensors where water would appear first.
The owners who lose five figures to a condo leak are almost never the ones who had a dramatic pipe burst. They are the ones who could not find the valve, or who watched a small stain for a season and hoped.
Sources
- Maryland Department of Labor — State Board of Plumbing I used the Board's licensing framework to describe where handyman work ends and licensed plumbing work begins in Maryland, including which categories of work require a licensed plumber rather than a general contractor or handyman. labor.maryland.gov/license/plumb
- Insurance Information Institute — Condo Insurance and Water Damage I used III guidance for the distinction between sudden and accidental discharge versus continuous seepage, the role of HO-6 loss assessment coverage relative to master policy deductibles, and the treatment of water backup as a separate endorsement. iii.org/article/condo-insurance
- U.S. Environmental Protection Agency — Mold Course, Chapter 2 I used EPA guidance for the 24-to-48-hour window in which mold growth begins after a water event, which drives the drying timeline recommended in the first-response section. epa.gov/mold/mold-course-chapter-2
- Community Associations Institute — Maintenance and Insurance Responsibility I used CAI materials on the standard allocation of maintenance and insurance obligations between associations and unit owners, including the common split in which the association repairs the pipe while the owner restores interior finishes. caionline.org